Friday, April 30, 2010

Sisters in Christ

Seven years ago my new husband and I were invited to a home group with one of Tall Man's closest friends. The first night we met a young couple and instantly hit it off. They had two little girls (five years and two months.) We had a 22 month old little girl and another baby on the way. Jamie and I had a lot in common but were different enough to learn from each other. Over time we've realized we're a lot like each others husband and maybe that's why we get along so well.
That was 2003, now in 2010 she's had two more girls and so have we. That's seven little ladies between the two of us! You should see the looks we get when we're out together with the whole bunch. Over the years we've been there for each other in many ways. Whether one of us just needed someone to listen, a little encouragement or someone to watch all those girlies at the last minute. The point is Jamie is an amazing friend and I can't imagine not having her as part of my life.
Jamie has been such a spiritual mentor to me an this last weekend she announced to the world that Christ is her Savior and was baptized. I wanted to do a little something for her. When I was working on Clipboards for Teacher I had a practice clipboard that Jamie loved. So I added one of Jamie's favorite verses to the bottom and here's how she turned out.
Personally, I love it!!
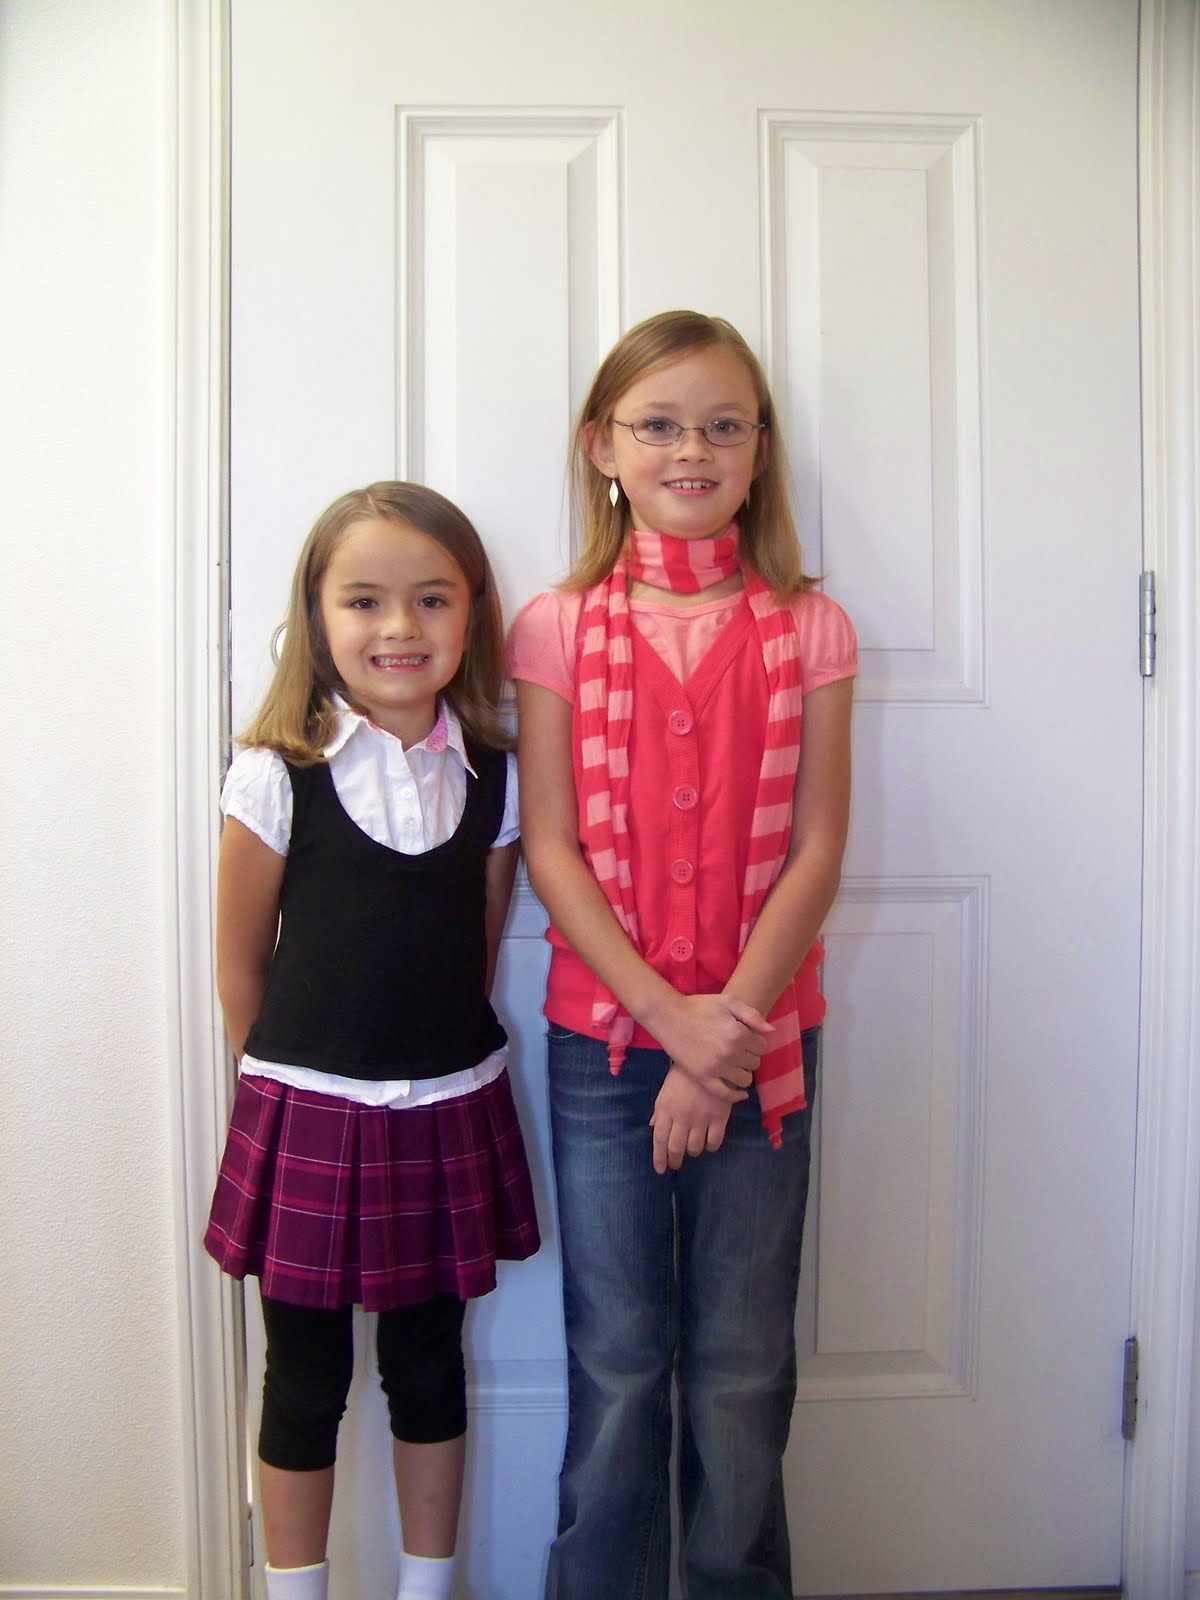
And here's a picture of Jamie and I at my birthday last year. Believe it or not it's the first picture ever of just the two of us. I guess we're always behind the camera.
And this one was taken a couple weeks later for Halloween at a teen mom
support group we're part of.
Punkin Seed Productions

Wednesday, April 28, 2010

Tissue Paper Poms

It's crunch time. The baby shower I'm putting together for my friend is this Saturday! Yikes!
You've seen the invitations and the baby game clothes pins, today I worked on decorations. I was cruising through the long list of blogs I have bookmarked under ideas and found how to make tissue paper balls over at All Things Thrifty. I've seen the Martha Stewart version of these and refuse to spend the dough. Instead I went to the Dollar Tree and picked up some tissue paper, Michael's for floral wire ($2.99) and that's it.
First, I layered 10 sheets of pink and white tissue paper and folded it accordion style. I made my folds about 1 1/2 inches wide.
Next, I cut the ends so they were rounded, then folded it in half and wrapped floral wire around the middle.Now, fan out the tissue paper on either side of the wire.
Lastly carefully pull apart the layers of tissue paper. Remember the paper tears easily, so be gentle. Adjust the tissue paper until your happy. Here's the finished product.
I'll be sure to post pictures from the baby shower, next week.
I'm linking to
Nikki's Nifty Knacks

Monday, April 26, 2010

Clipboards for Teacher

Back to school was very interesting for my family this year. My oldest daughter went off to the third grade with out a problem. This was her first time going to the same school two years in a row, finally she wasn't the new girl! It was fantastic!
Here are my older girls ready for the first day of school.
Our middle daughter was excited to start kindergarten on day one, day two was a completely different story. As was day three through thirty. On the second day of school she decided she didn't like it, she said she missed me more than I missed her. (Awwww.) Two weeks into the year we switched teachers and things got a little easier but we still had crying fits and had to be escorted to class by either the principal or a teacher. It was six weeks to the day since the first day of school when my little girl decided she was big and skipped to class with a smile on her face. We have not had a rough drop off since. =o)
I'm not sure what caused the change, if it was something my husband and I did or maybe her new "Grammy-like" teacher. I don't know and honestly I don't need to. All I know is my daughter loves school and we appreciate her teacher SO much. Which brings me to "Clipboards for Teacher." This was an easy and inexpensive gift for the teachers in our lives.All you need is a clipboard (got them at the Dollar Tree), scrapbook paper (had it), Mod Podge (had it), polycrylic and a cheap-o foam brush.
Can you see the little Pomeranian head peeking over the couch? Meet MoJo.
I took a 12x12 piece of scrapbook paper and traced the clipboard on the back, cut that out and cut out the clip area. Next I put a thin layer of Mod Podge on the clipboard with a foam brush and lined the paper up just right. I smooth the bumps out with a Pampered Chef scraper thingy (technical, I know.) After a minute or two we applied another thin layer of Mod Podge and lined up the bottom solid colored paper. While that was drying we picked out another color paper and used the Cricut to spell out the teachers names. A little more Mod Podge and the letters were set. I let that dry for most of the day before I did two thin coats of polycrylic to be sure the letters didn't catch on something and come up. Here's the finished product.

Friday, April 23, 2010

Scripture in Dollar Tree Frame

Last week I showed you the Dollar Tree frame I spray painted for our master bathroom. Inside that frame is scripture to help you have a "positive argument" with your spouse. I thought I'd share with you the verses I read each day when brushing my teeth and getting ready for the day. They are nice little reminders of what's important.
  • Listen more than you talk.
James 1:19 Everyone should be quick to listen, slow to speak and slow to become angry, for man's anger does not bring about the righteous life God deserves.
  • Remain calm; keep your voice down
Proverbs 5:1 My son, pay attention to my wisdom, listen well to my words of insight.
  • Keep current; leave old issues behind.
Phil 3:13 Forgetting what is behind and straining toward what is ahead.
  • Be ready and willing to ask for forgiveness or offer it.
Col 3:13 Bear with each other and forgive whatever grievances you may have against one another. Forgive as the Lord forgave you.
  • Guard your tongue from saying something you will regret later.
James 3:10 Out of the same mouth come praise and cursing. This shouldn't be.
  • Pray together.
1 Thess 5:17 Pray continually.


I hope these little bits of wisdom can help you through your day. Have a great Friday!


Thursday, April 22, 2010

Happy Earth Day

Today is Earth Day, I know this because my six year old has been preparing me for about two weeks now. I think Earth Day is a great reminder that we need to take care of our planet. It's the only one we have. I am big on recycling, we recycle magazines, catalogs, newspaper, cardboard, plastic, glass, everything we can think of. There's even a picture floating around of me digging through the garbage at a MOPS event, we made about twelve pans of enchiladas and people were just throwing the cans in the garbage. Hello!?!? Why not recycle them? So I dug them out, put them in some grocery bags & took them home to my personal blue bin.
I spent some time in the last couple of days doing a little eco friendly research. Here is what I found.
Reusable grocery bags. They're inexpensive, much more sturdy than plastic bags and you can find some cute one's at Ross, Michael's or Kohl's.
The brainiac's over at NASA say the bamboo palm is one of the best plants to give your home fresh air.
These are from HGTV's 2009 Green Home. The table is in the entry way and I absolutely adore this old world style faucet by Kohler used in the master bathroom. This is one of my favorite eco-friendly pictures, because these are veggies grown in my friends garden.
Organic and delicious!


And lastly my favorite eco friendly cleaners. Melaleuca. I love this company.
Their cleaning products, vitamins, toothpaste, lotion, etc.. Love them!
I hope you find a way to make our planet just a little more green this Earth Day.

Monday, April 19, 2010

Dollar Tree Frame

For the last year or so in our master bathroom there has been a coral colored piece of paper in a page protector taped to the mirror. Fancy, I know! I attended a womens Bible study on marriage and had a print out on how to have a "successful disagreement." Basically it was scripture that applies to marriage. I knew I wanted something a little nicer than a page protector but didn't want a big elaborate frame either.
A couple weeks ago I came across this frame at the Dollar Tree, I really like the design but needed black for our bathroom. So of course, I spray painted it with an eggshell finish. I typed up the scripture, cut it down to size and popped it in the frame.
Easy peasy lemon squeezy. (Can you tell I have a 6 year old?)
So here's my before and after.


I'm linking to
All Thingz Related

Nikki's Nifty Knacks

Friday, April 16, 2010

The Big Reveal

I can hardly believe months of work has transformed into a few simple blog posts. Tall Man and I are so happy with our home office now that it's finished and I'm so excited to share it with you. I hope you all like it too!
Remember our before picture?
And here is our office now.

Hope you all have a wonderful weekend!

See our office featured in the March edition of
You're Fabulous at Centsational Girl
All Thingz Related


Office Inspiration

Before the big office reveal I want to share with you some of my inspiration. You'll see I pulled a little something from some of the photo's. Others I just really love the design.
I really like these ladder book shelves, maybe this summer Tall Man and I will work on a couple of these.
I also love the look of these built ins, not to mention the incredible folding glass doors.
I've considered making the window above our desk into a chalkboard like this, but I'm thinking that may be a little too heavy for the room. It is super cute used in the kitchen like the picture shows.
Well those are just a few of the snapshots that helped inspire me when we were making picks for our home office. There are so many more but I decided against posting ALL of them. We'd be here all day. Hope you enjoy your Friday!

Thursday, April 15, 2010

I've Been Away

I haven't posted anything for a few days and I apologize. It's been a crazy week for me. In the past six months I've had allergic reactions to these
and these...
and most recently these...
So yesterday I went to the allergist, they took my blood and are sending it off for testing. By mid-summer I shouldn't be allergic to bee's anymore! Woo hoo! I've been deathly allergic for the last 13 years so this will completely change my way of life!
I have some projects in the works, they'll be coming up in the next few weeks. Hope you all have a great Friday!!

Tuesday, April 13, 2010

Santa and Jesus?

I've probably got you puzzled right now with a title like that. We were showing off our home office to some friends the other day and while looking at these, the husband said "What are the S and J for? Santa and Jesus?" Here's a picture of my Tall Man putting up what we're talking about.

I got these letters at TJ Maxx for $9.99 each, a little more than I would normally spend but they have this fantastic paisley detail. And I have an extremely hard time resisting anything in paisley, I'm sure you'll notice that in future posts.
Back to Santa and Jesus. The S was an ivory color and the J was light blue. The ivory was great but blue wouldn't do. So I ended up painting both, I thought the S should be Espresso, it's more masculine. I painted the J with Heirloom White. And here they are hung up in our "reading corner."

I personally love it, it makes me want to cuddle up in the recliner with a Karen Kingsbury book and a hot cup of tea. Now some of you may be thinking that recliner doesn't really go with the room but sometimes you have to sacrifice style for family love. That beauty of a chair used to belong to my Tall Man's grandpa, he's still alive and kicking at 93 but has upgraded his chair. Try and tell me you could get rid of a chair that belonged to this amazing man (this photo is framed on the table next to his chair.) Stay tuned for the big office reveal on Friday! Hope you have a great week!

Monday, April 12, 2010

Baby Game

I am putting together a baby shower for a close friend of mine. Invitations have been made and mailed, you can see them here. Now it's time to start thinking about the games. You can't have a baby shower with out the "Baby Game" you know the game, where you can't say the word "baby." I like to take it a step further and add the word "cute." Have you ever been to a shower and not said the word cute? It's incredibly hard.
I'm not into pinning things to my clothes with a safety pin. Some materials just don't handle it well. And I wanted to do something other than a plastic toy binky on a necklace. So I decided clothes pins were the answer. Well, clothes pins, spray paint and ribbon were the answer. I had clothes pins already, you can get them pretty cheap at any store. I also have just a few half empty cans of spray paint from other projects, so I had my Rust-Oleum Espresso brown for half the pins and I picked up a can of Valspar Cameo Pink for just a few bucks at Lowe's.
I clipped the clothes pins along the top of a cardboard box so I could spray them from all angles and wouldn't have to wait until they dried to flip them over and spray again. (Remember I'm an instant gratification kinda girl.) I did have to wait for them to dry to do a second coat though, I wanted them to be even and smooth.
When the paint had dried on the clothes pins I brought them inside and was ready to glue some ribbon. I found this cute XOXO ribbon in the dollar bin at Michael's after Valentine's Day. It was perfect! I measured the ribbon a little longer than the clothes pins so it would fold over and have a more finished look. Before gluing I made sure I had the pins & ribbon ready, hot glue is great but once it dries it's hard and I wanted the ribbon to lay smooth on the pin. I put a few beads of hot glue on the pin and pressed the ribbon on.
I already have plans for these after the shower. Aren't they cute? Oops I said the word! I never win those games!

Friday, April 9, 2010

Table turned desk

Seven years ago we were a family of three, crammed in a second story, two bedroom apartment. We didn't have a dining room we had a nook of sorts. That year my dad bought me a dining room table for my birthday. It was a round table, one of those with the sides that fold down. It was perfect for Tall Man, myself and our then one year old. It didn't take long and we had out grown our round table and four chairs. We had to get a larger table to fit our growing family. So out to the storage went our little table...until recently.
I've seen writing desks like this from Pottery Barn for $599. Just a little out of my price range.


So I wasn't about to fork over all that money plus shipping when I had a perfectly good table sitting in my garage. With a little help from.. you guessed it, my Tall Man.. we removed the fold down sides of our round table, leaving us with this. (I call the rounded ends "detail")

I didn't bother sanding this table, looking back I should have taken some wood filler and filled the little grooves where my girlies left their mark, then lightly sanded and primed. Instead I went straight to priming with Zinsser and a foam roller, the detail on the legs was done with a foam brush. After letting the primer dry and cure I started painting with Olympic's Star Anise in egg shell. I ended up putting three thin coats of paint to get smooth coverage over that white primer. I let my paint dry for about 36 hours and brushed on two coats of polycrylic to get that finished shine. And here's the finished product.


Blessings.

Linking to: Centsational Girl


Thursday, April 8, 2010

Window Without a View

Last September my family and I met my in-laws for a weekend of fun in the sun. I was looking forward to spending the weekend away, swimming at the hotel, boating, taking my three year old tubing (she was awesome!) But to be honest I was also very excited about a little something my favorite father-in-law was picking up for me on their way to the hotel.
A couple hours from their house in Washington
is an Antique & Fruit Store. Living in the Northwest we don't have a lot of flea markets and antique shops so his stopping on the way to meet us was my one chance to get this beauty! I was expecting a very simple window like this one.
You can imagine my surprise when my favorite f-f-i-l showed me this.
I love that it's different from any window I've ever seen before. I realize it's missing a pane of glass but that's an easy fix. I wanted a window to put in our home office as a message board of sorts. I thought we could replace that center piece of glass and put a jar full of dry erase markers and leave little honey-do's and love notes for each other.
Here's how it looks on the wall. It's still missing that piece of glass. We had a piece, tried to install it but the glass didn't survive. (sigh) Even though we can't leave messages on it yet, I still adore it!

Wednesday, April 7, 2010

Stripes

No, I'm not talking about the Bill Murray flick. I'm talking about those beautiful green stripes you may have noticed in my last office post. Those stripes were quite the adventure! Seven long days of measuring, marking, taping, painting, peeling, taping, painting again. But boy was it worth it! I love them!
I knew I wanted stripes in ou
r office and thought green would provide the relaxing feel I was going for. I went down to Lowe's and picked up a handful of paint chips, picked my fave one and headed to Wal-Mart where they matched my $30/gallon color to their Bay Green by ColorPlace for about half the price. Next they mixed a gallon of the same green, only 60% lighter. This way I knew my colors would have the same base.
Usually picking a color is the hard part, this time color was easy, prep work was not. Again, I called in my tall man (what would I do if I hadn't married a 6'5" guy?) First, we measured 12 inch stripes and marked them with a pencil in three places up the wall, then
with a laser line we taped our lines. I started with two coats of the lighter shade, then peeled tape while the second coat was still wet. If you've ever peeled painters tape before you know the line you get where a little paint seeps under and you've got a nice line to one side. After letting the light green dry for 36 hours I followed the lines from before and taped for the darker color. But before I added my second color I went around the room real quick with a brush and my lighter color, I painted a quick coat on the tape to make a seal. After that dried I continued with two coats of Bay Green and pulled tape.
And voila! We have stripes!


Blessings.

Linking to: Centsational Girl

Tuesday, April 6, 2010

Easter Lilies

I realize Easter has passed but I snapped this picture of the Easter Lily my Dad brought me and I had to share.
Isn't it she pretty? Look at all that pollen... hmmm... I wonder if that's why my 6 year old has watery eyes. Hope you all had a wonderful Resurrection Day!

Mission:Impossible

I've heard it's impossible. Don't even try. Painting laminate furniture is a disaster waiting to happen. Sounds like a challenge to me! Especially since I don't have the budget to buy a new bookcase but I do have a cheapo laminate bookcase and some left over Almond Paste by Olympic.
Before I start any
project I do some research. I figure I'm not 16 anymore, it's okay for me to learn from other peoples mistakes. I sat down with my laptop and searched "painting laminate furniture" the first listing is on one of my daily reads Living With Lindsey . She walks you through the whole process.
I took the shelves out from my cheapo bookcase and lightly sanded them down with my
palm sander. After wiping them clean I used a foam roller to prime with some Zinsser primer. I always use a foam roller on a smooth surface, you don't get brush lines and for some reason the foam leaves a much smoother finish than a roller you'd use on a wall. I decided not to sand the frame of the bookcase for two reasons. 1. I'm too lazy. 2. Um... Okay, maybe I'm just lazy. I did prime the frame though, using a foam brush to get into the hard to reach corners. After letting the primer dry and cure I rolled on two coats of paint.
The next day I called for my tall man and we lugged the bookcase back upstairs and into our office. When I put
the shelves back in place I did scratch the paint in a few places but it was nothing a little touch pain couldn't fix. I did it, I painted laminate furniture and lived to tell about it.
So I went from this:


To this:


Monday, April 5, 2010

I say it's "My office" he says it's "Ours"

When we bought our home Tall Man worked from home for about nine months, so my "office space" was on our kitchen counter. Last June he changed jobs and now heads to the office down the road rather than down the hall. I loved having my tall man home, I'd sit in our home office with him sipping coffee every morning. He loved it too, lunch was delivered to his desk. Talk about service!
As much as I miss being able to see him each morning I was thrilled to take on the challenge of putting my touch on our office. This was a process I started last fall and in the past few weeks have finished. I shouldn't say "finished" because I don't believe any room can be finished for long. Let's say I reached temporary satisfaction in the last few weeks.
I did some research online, checking all my favorite blogs, lots of Google images searches and flipped through many Better Homes & Gardens and Ballard Designs. I had all these ideas in my head and gradually they came together. I am excited to share with you the process of putting my, I mean our office together.

Here is a before picture. Blah.

Sunday, April 4, 2010

You're invited... (well not all of you.)

I am putting together a baby shower for a close friend of mine. We had our first daughters two weeks apart, nine years ago this June and now she's expecting her second little girl. I jumped at the opportunity to put together her shower, EVERY baby deserves a party! We talked about colors, invitations, games and of course food.
We decided pink and brown were the colors of choice, so the next day I picked up some Dutch Luv (Dutch Bros. coffee) and cruised Michael's, coupon in hand. First I checked out the scrapbook paper, snapped a couple pictures and sent them off for approval. Mommy-to-be decided she couldn't decide, we'll have two different styles, polka dots and stripes. That decided I added some chocolate brown card stock, velum and matching ribbon to my cart.
Over the next couple of days I put together these s
uper cute invitations. I am SO happy with how they turned out and more importantly, so is my friend!
(Please excuse the editing, still learning.)

Allow me to introduce myself...

I'm not very good at introductions or goodbye's for that matter. I don't make grand entrances, I prefer to sneak in quietly and let everyone else in the room say "I didn't see you come in, when did you get here?" Considering this is my first blog post, you are all aware I'm just arriving and a little out of my comfort zone.
My name is Jamara, I live in Northern Idaho and absolutely love it! I am married to a Tall Man and am mommy to three incredible little girls. Most importantly, I am a child of God. I am a stay at home mom who picked up a part time job to help support my DIY habit. I enjoy finding deals on everything and turning what wasn't great into something I truly love!
Through this blog I plan to share many things; DIY projects, kids crafts, recipes, family life, little happenings from my daily life. We'll see how it goes. Like I said I'm not good at introductions or goodbye's. So if this doesn't work you may say to yourself "I wonder when Jamara left?"